Portofino Bag Set
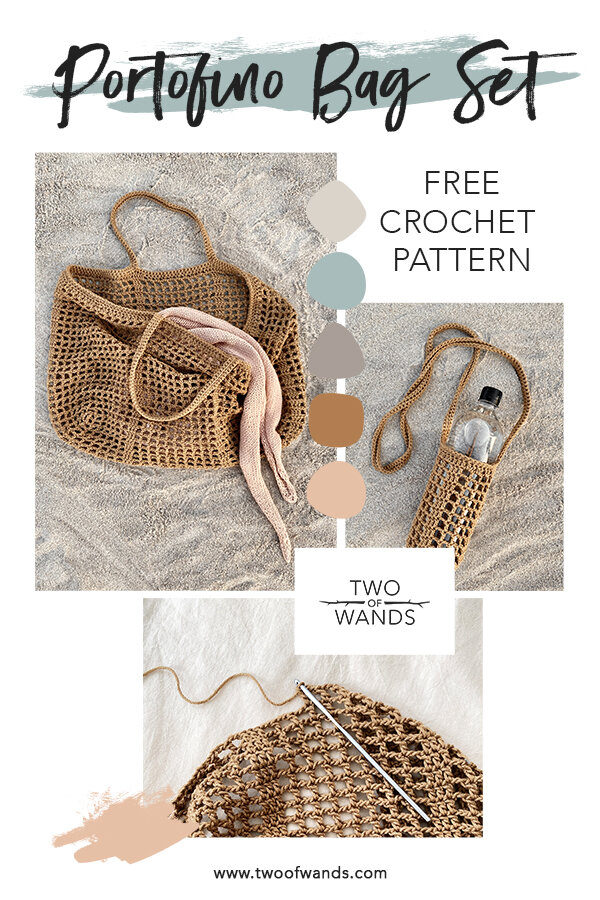
Summer is upon us and with restrictions lessening in the US, I am excited to spend more time outdoors - beaches, parks, and lakes here I come! My favorite crochet projects are always bags, and the idea of going on more day trips got me super excited to create a new carry-all, so Portofino Bag Set was born! Scroll down for the free pattern, click here to purchase the ad-free printable PDF, or grab the full kit (pattern included!) from Lion Brand here.
Coming from a fashion design education, one of my favorite things to do each season is check out the latest runway shows. While most of the ensembles you see in the haute couture shows are not exactly appropriate for the average person's day-to-day life, the ready-to-wear shows tend to have some staples that can easily be incorporated, and I find that all of them do influence the styles you see all the way down to the stores we all actually shop in. Anyone remember the iconic cerulean sweater scene from The Devil Wears Prada?
Well, in case you didn't get a chance to check out the shows this season, let me tell you about the bag trends: they were huge ... and they were tiny. This juxtaposition was in line with the rest of the trends as well (serious glam meets sweatpants vibes happening all over as people emerge from quarantine either continuing to lean into the comfort of working from the couch or feeling the need to break out of the slump). Several designers, such as Fendi and Coach, showcased the dueling bag styles together, which immediately caught my heart.
I am always down for an extra large and in charge tote (the schlep is real over here), but I was also drawn to all of the micro bags of the season. From mini purses worn around the neck to tiny pouches worn on the belt, these wee bags were all over the place. My favorite of the bunch were all of the water bottle bags. I'm basically always trying to be someone who hydrates on the reg, so it feels like a smart move to carry a refillable bottle around at all times. And how cool are all of these!?
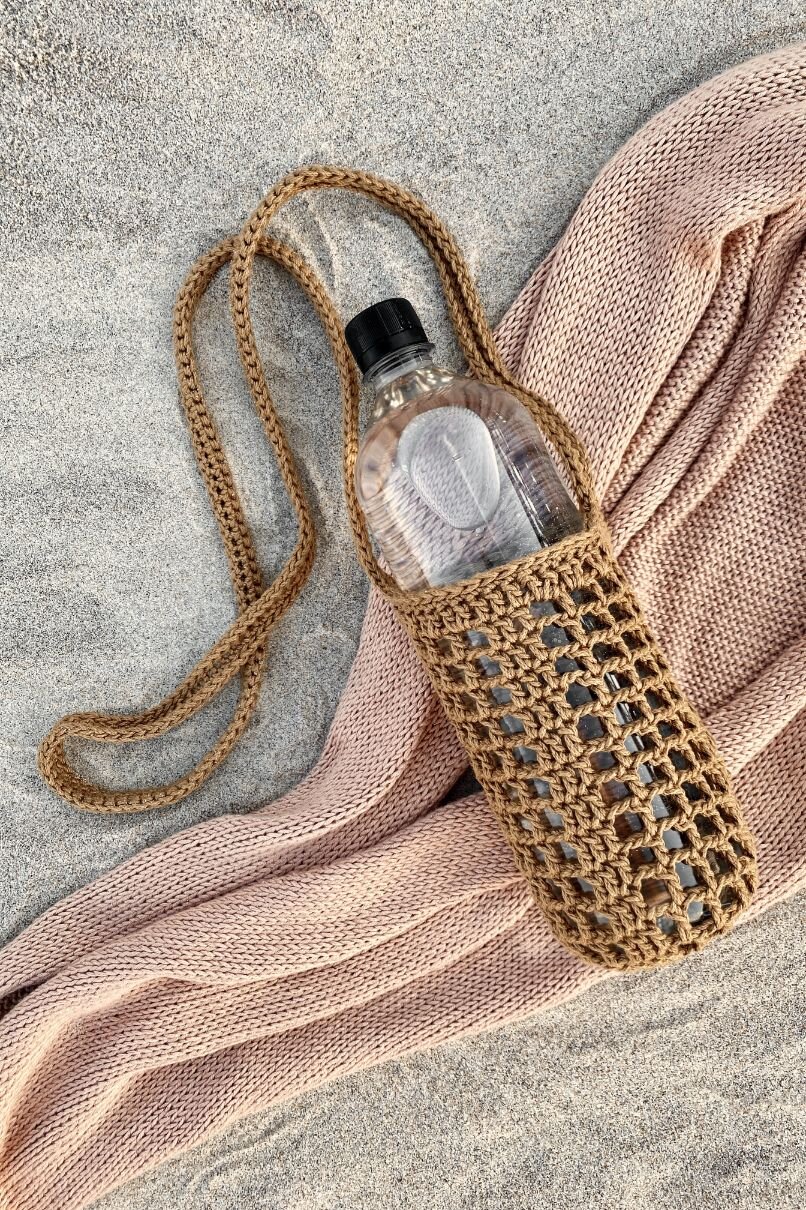
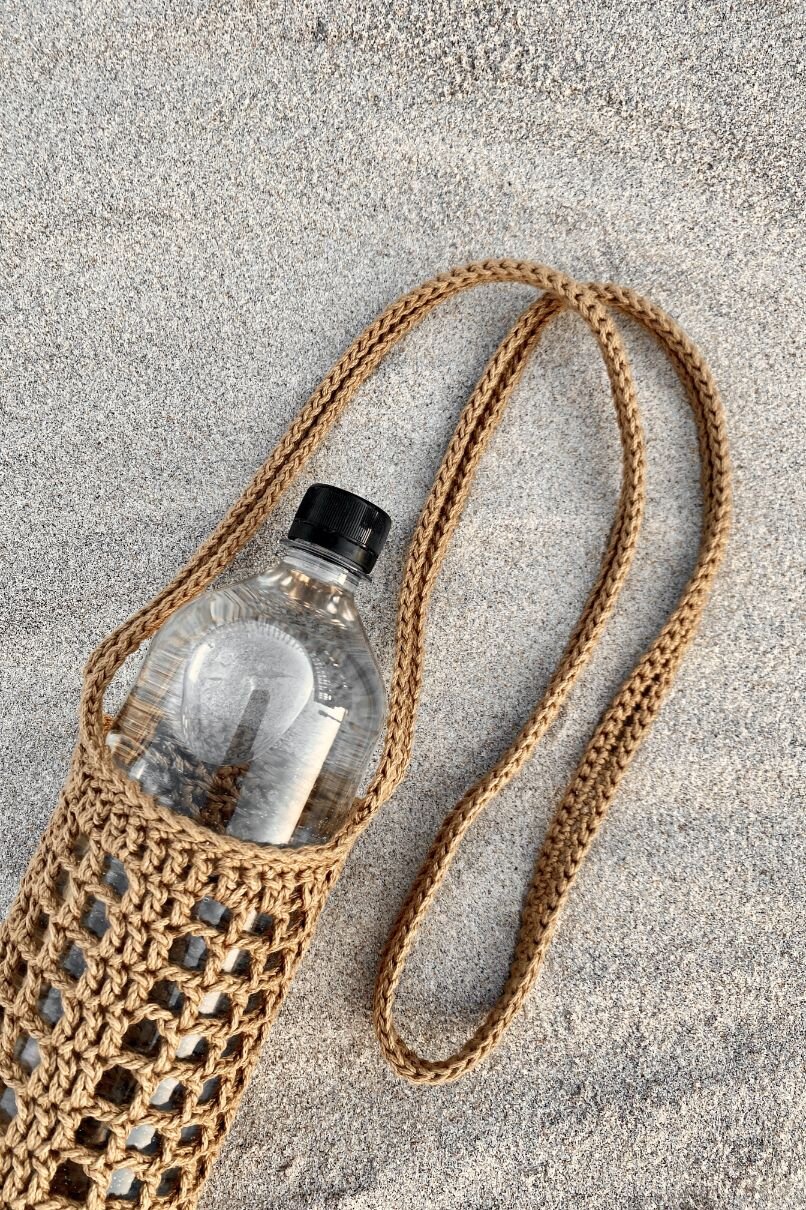
Now, you could spend $5,800 on a Chanel bottle bag ... OR, you can crochet your own for $4.99! The Portofino Bottle Bag uses only half of a skein of 24/7 Cotton (45-ish grams to be exact), and since the Portofino Tote Bag uses a little over 2 skeins, you can use up the rest of the 3rd to make the bottle bag. Win-win! I was inspired by the concept of the chain cage used on the Chanel bottle bag though, so I put a crochet spin on it for my design and then I designed the tote to match. While the Chanel bag comes with its own bottle, the Portofino Bottle Bag is designed to fit a standard 17-25oz reusable water bottle but it will stretch to fit a variety of sizes. Hot tip: it also fits a wine bottle ... I checked ;)
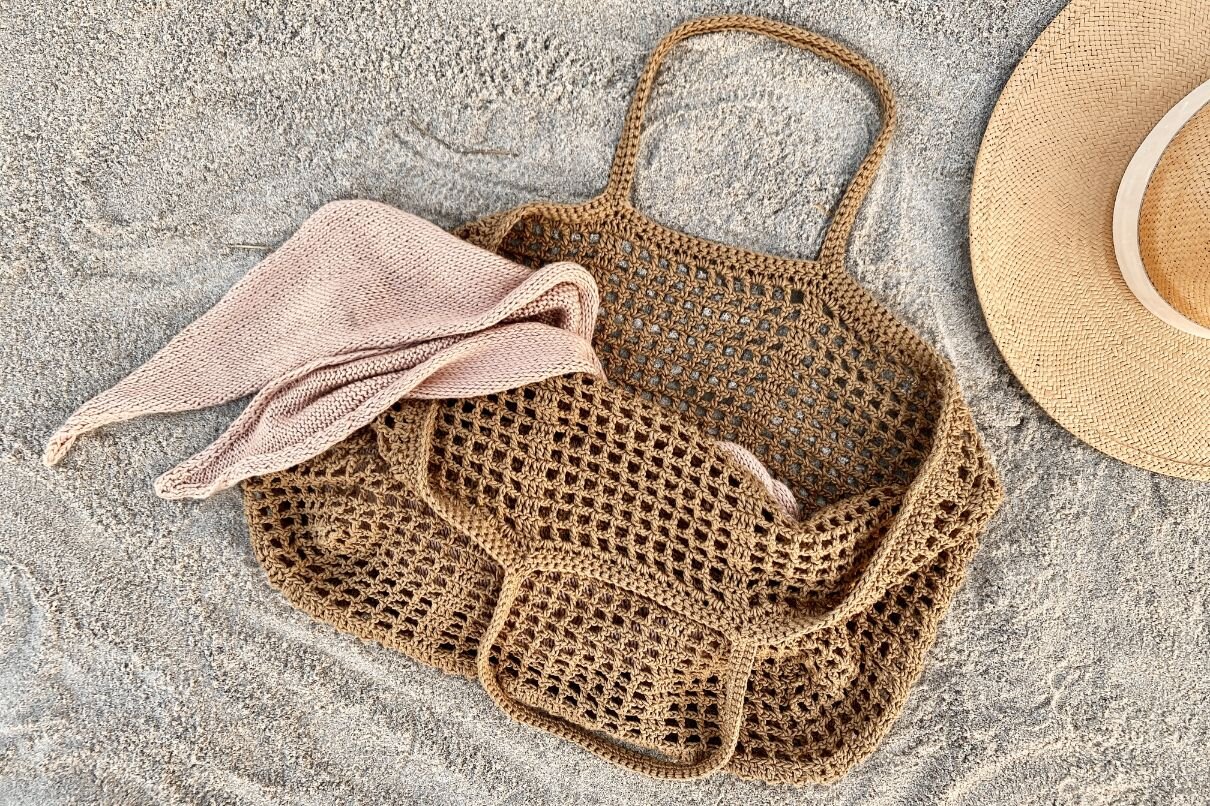
If my French Market Bag and Field Trip Tote had a child, it would be the Portofino Tote Bag. Although this baby took about 14 attempts to get it right (lots of sizing issues and going back and forth on whether to have a solid bottom or not, or whether to work in spiral or turned rounds), I am so in love with the final result. It is lightweight, packable, and roomy with the perfect amount of stretch.
This mesh bag set is the ultimate duo in accessories! A roomy tote for market scores, beach day essentials, or picnic must-haves in addition to a chic bottle bag to ensure you are always hydrated make the perfect pair this season. These quick projects are stylish, quick, and functional – the best combo!
This is an intermediate level crochet pattern and the techniques involved are single crochet, double crochet, slip stitch, and chaining and skipping stitches.
MATERIALS
3 skeins Lion Brand 24/7 Cotton in Hay Bale (761-173)
(worsted/aran, weight 4; 186yds/170m per skein)
Size US F/5 (3.75mm) crochet hook
Removable stitch markers
Tapestry needle
FINISHED SIZE
Tote Bag:
A Width laying flat: 21”/53.5cm
B Length: 15”/38cm
C Depth: 7”/18cm
D Strap length: 15”/38cm
Bottle Bag:
A Circumference: 10”/25.5cm
B Length (adjustable): 7”/18cm
C Strap length: 50”/127cm
GAUGE
7 filet squares (stitch-wise) + 8 filet squares (row-wise) = 4”/10cm in filet double crochet
ABBREVIATIONS
*All Two of Wands patterns are written in standard US terms.
Ch - chain
Ch sp - chain space
Dc - double crochet
Rep - repeat
Sc - single crochet
Sk - skip
Sl st - slip stitch
St(s) - stitch(es)
NOTES
The ch 3 at the beginning of a row or round counts as a stitch, and the ch 5 at the beginning of a row or round counts as a stitch and a ch-2 space, so the last double crochet of each row or round is worked into the corner or top of the turning chain from the row below.
Base of tote bag is worked flat - turn at the end of each row. Body is then worked around the base and continues up in joined, turned rounds. Straps are then worked along top edge of bag in joined, unturned spiral rounds.
Bottle bag is worked in joined spiral rounds. It is designed to fit a standard 17-25oz reusable water bottle, but will stretch to fit a variety of sizes and can be lengthened or shortened.
BEACH BAG
Base:
Ch 81.
Row 1: Starting in 8th ch from hook, dc 1, ch 2, sk 2, (dc in next ch, ch 2, sk 2) 5 times, dc 3, ch 2, sk 2, (dc in next ch, ch 2, sk 2) 9 times, dc 3, ch 2, sk 2, (dc in next ch, ch 2, sk 2) 6 times, dc in last ch. (29 dc + 24 ch-2 sps)
Rows 2-6: Ch 5 (counts as dc + ch 2 here and throughout), (dc in next st, ch 2) 6 times, dc in next 3 sts, ch 2, (dc in next st, ch 2) 9 times, dc in next 3 sts, ch 2, (dc in next st, ch 2) 6 times, dc in corner ch of turning ch from row below.
Row 7: Ch 3 (counts as dc here and throughout), 2 dc in next ch-2 sp, (dc in next st, 2 dc in next ch-2 sp) 6 times, dc in next 3 sts, 2 dc in next ch-2 sp, (dc in next st, 2 dc in next ch-2 sp) 9 times, dc in next 3 sts, 2 dc in nect ch-2 sp, (dc in next st, 2 dc in next ch-2 sp) 6 times, dc in corner ch of turning ch from row below. (77 dc)
Row 8: Ch 5, sk 2, (dc in next st, ch 2, sk 2) 6 times, dc in next 3 sts, ch 2, sk 2, (dc in next st, ch 2, sk 2) 9 times, dc in next 3 sts, ch 2, sk 2, (dc in next st, ch 2, sk 2) 6 times, dc in top of turning ch from row below. (29 dc + 24 ch-2 sps)
Rows 9-13: Rep rows 2-6.
Do not fasten off.
Body:
Sts will now be worked around all four edges of the base to form the body.
Round 1: Working across last row of base, ch 5, (dc in next st, ch 2) 6 times, dc in next 3 sts, ch 2, (dc in next st, ch 2) 9 times, dc in next 3 sts, ch 2, (dc in next st, ch 2) 6 times, dc in corner ch of turning ch from row below, rotate work to begin working down the side edge, ch 2, sk 2 filet squares and dc in top of next post (fig. A + B), (ch 2, dc in top of next post) 5 times, dc around side of next dc, dc in top of next post (fig. C), (ch 2, dc in top of next post) 6 times with last dc going in corner of turning ch, rotate work to begin working across the bottom edge, ch 2, sk 2 filet squares and dc in bottom of next st (fig. D + E), ch 2, (dc in bottom of next st, ch 2) 5 times, dc in bottom of next 3 sts, ch 2, (dc in bottom of next st, ch 2) 9 times, dc in bottom of next 3 sts, ch 2, (dc in bottom of next st, ch 2) 6 times, dc in bottom of last st, rotate work to begin working down the side edge, ch 2, sk 2 filet squares and dc in top of next post (fig. F + G), (ch 2, dc in top of next post) 5 times, dc around side of next dc, dc in top of next post (fig. H), (ch 2, dc in top of next post) 5 times, ch 2, sk 2 filet squares and sl st in corner of turning ch to join (fig. I + J). (84 dc + 72 ch-2 sps)


Turn now and at the end of each following round until indicated.
Round 2: Ch 5, (dc in next st, ch 2) 5 times, dc in next 3 sts, ch 2, (dc in next st, ch 2) 12 times, dc in next 3 sts, ch 2, (dc in next st, ch 2) 9 times, dc in next 3 sts, [ch 2, (dc in next st, ch 2) 12 times, dc in next 3 sts] 2 times, ch 2, (dc in next st, ch 2) 9 times, dc in next 3 sts, ch 2, (dc in next st, ch 2) 6 times, sl st to corner ch of beginning ch 5 to join.
Round 3: Ch 5, (dc in next st, ch 2) 6 times, dc in next 3 sts, ch 2, (dc in next st, ch 2) 9 times, dc in next 3 sts, [ch 2, (dc in next st, ch 2) 12 times, dc in next 3 sts] 2 times, ch 2, (dc in next st, ch 2) 9 times, dc in next 3 sts, ch 2, (dc in next st, ch 2) 12 times, dc in next 3 sts, ch 2, (dc in next st, ch 2) 5 times, sl st to corner ch of beginning ch 5 to join.
Rounds 4-23: Rep rounds 2 and 3.
Round 24: Rep round 2.
Round 25: Ch 3, dc in next ch-2 sp, 2 dc in each of next 5 ch-2 sps, dc in next 3 sts, 2 dc in each of next 13 ch-2 sps, dc in next 3 sts, 2 dc in each of next 10 ch-2 sps, dc in next 3 sts, (2 dc in each of next 13 ch-2 sps, dc in next 3 sts) 2 times, 2 dc in each of next 10 ch-2 sps, dc in next 3 sts, 2 dc in each of next 7 ch-2 sps, sl st to top of ch 3 to join. (162 dc)
Do not fasten off. Do not turn here – continue all remaining rounds in spiral, unturned rounds.
Straps:
Round 1: Ch 1, and starting in same st as join, sc 43 (last st should be middle of 3 dc group), ch 68, sk 22, then starting in the next (23rd) st and being careful not to twist the strap ch, sc 59 (last st should be middle of 3 dc group), ch 68, sk 22, then starting in the next (23rd) st and being careful not to twist the strap ch, sc 16, then sl st to 1st sc of round to join.
Round 2: Ch 1, *sc across top of bag to beginning of strap ch, then sc across strap ch to other side, rep from * one more time, sc across top of bag to beginning of round, then sl st to 1st sc of round to join.
Round 3: *Sl st across top of bag beginning of strap, then sl st across strap to other side, rep from * one more time, sl st across top of bag to beginning of round.
Fasten off.
Rejoin yarn along top edge of bag just to the left of the interior of one strap.
Round 4: Ch 1, and starting in same st as join, sc across top of bag to other side of strap, sc across bottom of strap ch to other side, then sl st to 1st sc of round to join.
Round 5: Sl st across top of bag to other side of strap, sl st across strap.
Fasten off.
Rep rounds 4 and 5 on interior of other strap.
Secure and weave in all ends.
BOTTLE BAG
Base:
Begin with a magic ring.
Round 1: Working into the ring, ch 3 (counts as a dc here and throughout), dc 15, sl st to top of ch 3 to join. (16 dc)
Round 2: Ch 3, 2 dc in same st as join, ch 2, sk 1, dc in next st, *ch 2, sk 1, 3 dc in next st, ch 2, sk 1, dc in next st, rep from * to last st, ch 2, sk last st, sl st to top of ch 3 to join. (16 dc + 8 ch-2 sps)
Round 3: Ch 3, dc in next 2 sts, (ch 2, dc in next ch-2 sp) 2 times, ch 2, *dc in next 3 sts, (ch 2, dc in next ch-2 sp) 2 times, ch 2, rep from * around, sl st to top of ch 3 to join. (20 dc + 12 ch-2 sps)
Round 4: Ch 3, dc in next 2 sts, (ch 2, dc in next ch-2 sp) 3 times, ch 2, *dc in next 3 sts, (ch 2, dc in next ch-2 sp) 3 times, ch 2, rep from * around, sl st to top of ch 3 to join. (24 dc + 16 ch-2 sps)
Body:
Rounds 5-14: Ch 3, dc in next 2 sts, ch 2, (dc in next st, ch 2) 3 times, *dc in next 3 sts, ch 2, (dc in next st, ch 2) 3 times, rep from * around, sl st to top of ch 3 to join.
Note: To lengthen or shorten the bag, add or remove rows here.
Round 15: Ch 3, dc in next 2 sts, 2 dc in each of next 4 ch-2 sps, *dc in next 3 sts, 2 dc in each of next 4 ch-2 sps, rep from * around, sl st to top of ch 3 to join. (44 dc)
Do not fasten off.
Straps:
Sl st into next st, ch 188, sk 21 sts along top of bag, and being careful not to twist ch, sl st to next (22nd) st.
Round 1: Sc across top of bag to beginning of strap ch, then sc across ch to other side.
Round 2: Sl st across top of bag to other side of strap, then sl st across strap.
Fasten off. Rejoin yarn at first skipped st after the strap ch.
Round 3: Ch 1, sc across top of bag to bottom of strap ch, then sc across bottom of ch to other side.
Round 4: Sl st across top of bag to other side of strap, then sl st across strap.
Fasten off.
Secure and weave in all ends.
Purchase the printable, ad-free pattern here.
Purchase the kit from Lion Brand Yarn here.
Don't forget to share your projects made using Two of Wands patterns on Instagram with the hashtag #crewofwands so your post will get featured on my site and you'll be in the running for monthly pattern giveaways!
Check out the #crewofwands community page here.
The patterns and photographs of items on this site are the property of Two of Wands and are for personal, non-commercial use only. These patterns files are protected by US copyright, and you may not distribute or sell them electronically or physically. Small batch sales of finished pieces made from these patterns are permitted, but seller must use their own photographs and credit must be given to Two of Wands as the designer.


