Color Theory: Perennial Plant Hanger
THE PERENNIAL PLANT HANGER IS AN EXCLUSIVE PATTERN MADE IN MY BRAND NEW YARN, COLOR THEORY, PRODUCED IN PARTNERSHIP WITH LION BRAND YARN. LEARN MORE ABOUT THE YARN AND COLLABORATION HERE!
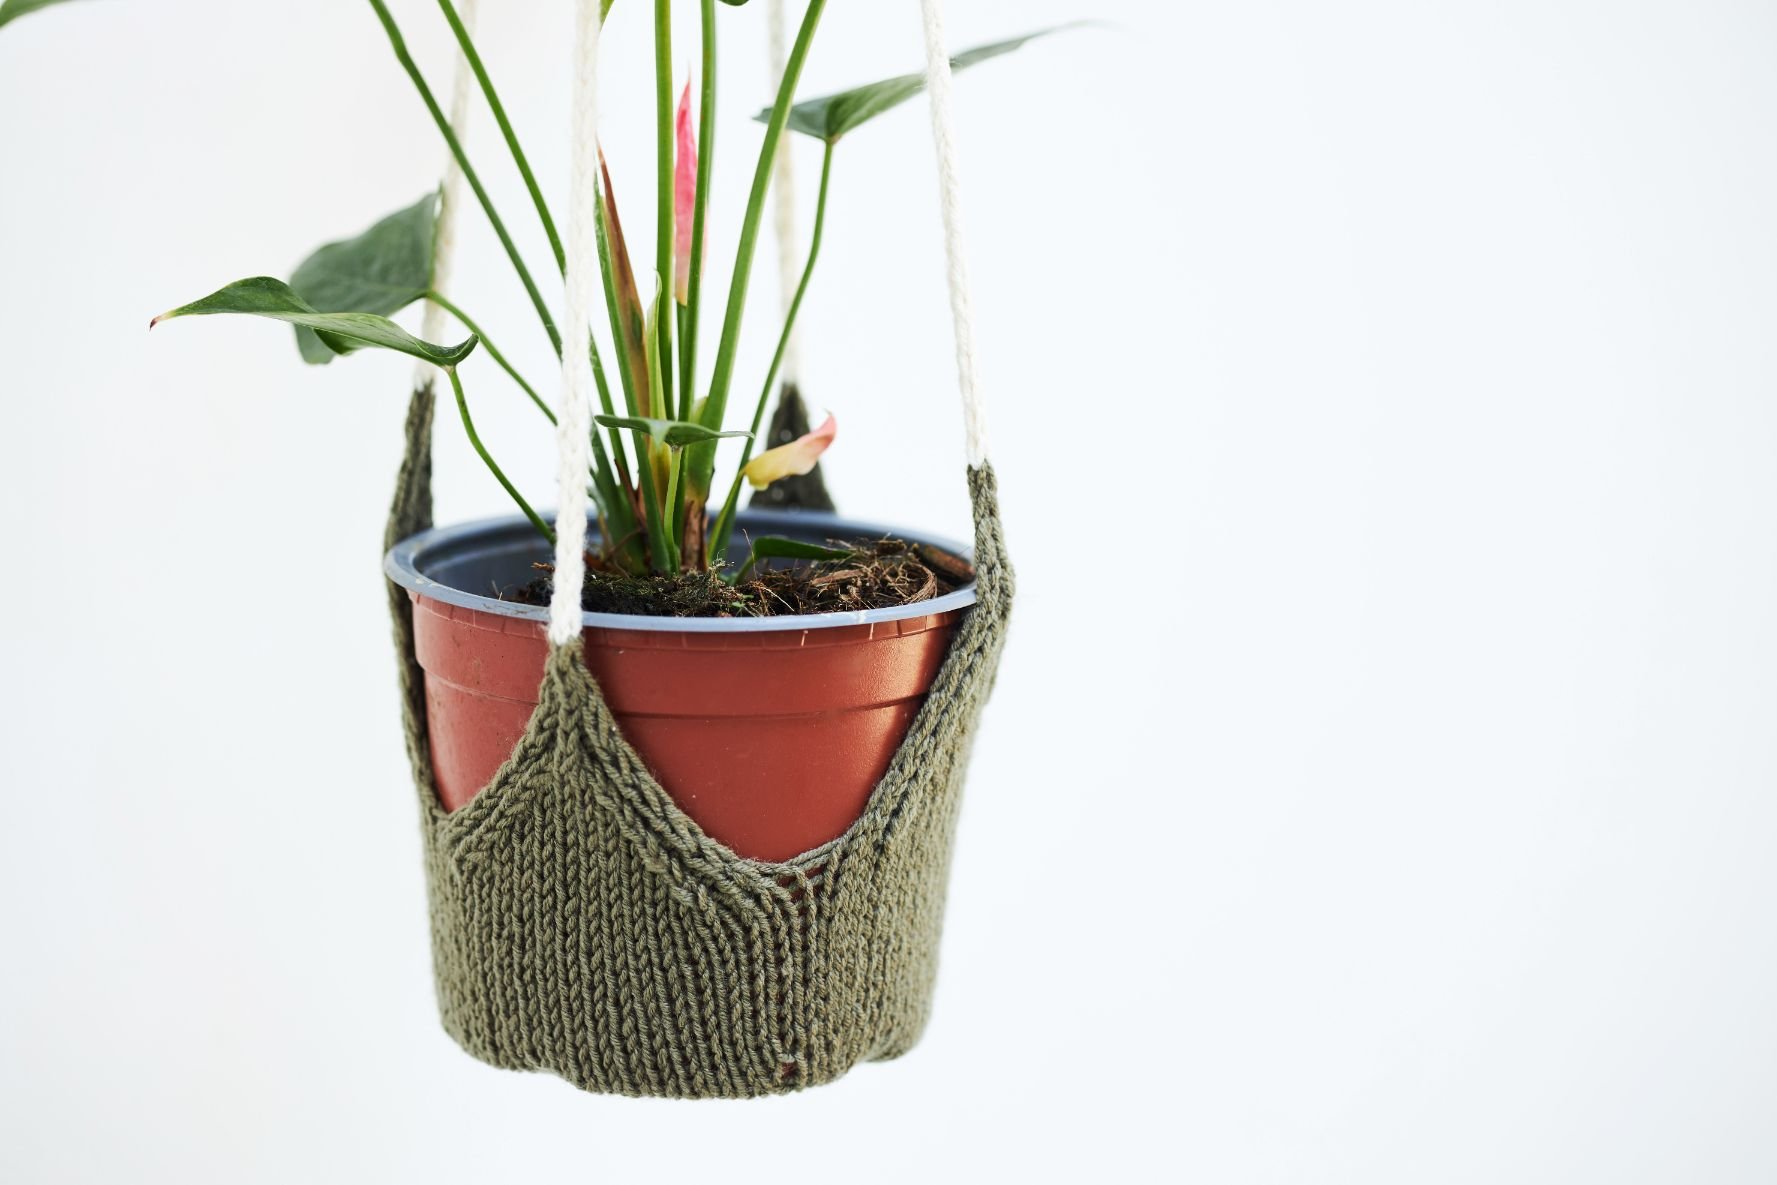
Keep your plants cozy with their very own knit pot hanger. Like a hammock for your plant babies, the Perennial Plant Hanger is a lovely way to display them year-round. Scroll down for the free pattern, purchase a printer-friendly PDF of the Perennial Plant Hanger pattern, or purchase the kit with all the Color Theory yarn you’ll need!
When I set out to design the 12 patterns that would be released with Color Theory, I wanted to have a wide variety of projects available. This yarn is such a workhorse, that it can be used across seasons year-round and for all types of projects from garments and accessories to home decor.
When you think of home dec designs, the usual go-to is a blanket, maybe a pillow. But with a worsted weight yarn, a big project like that can be a huge undertaking and I wanted to include a few smaller items like this one and the Sunburst Coasters that you could whip up quickly.
This plant hanger makes an impressive gift along with a houseplant, and is such a fun way to add a touch of yarny warmth to your home. After making this I decided I should put a cozy on as many of my objects as possible :)
This is an intermediate level knitting pattern and the techniques involved are knitting and purling, m1l and m1r increases, S2KP double decrease, working in the round on double pointed needles, and making an i-cord.
MATERIALS
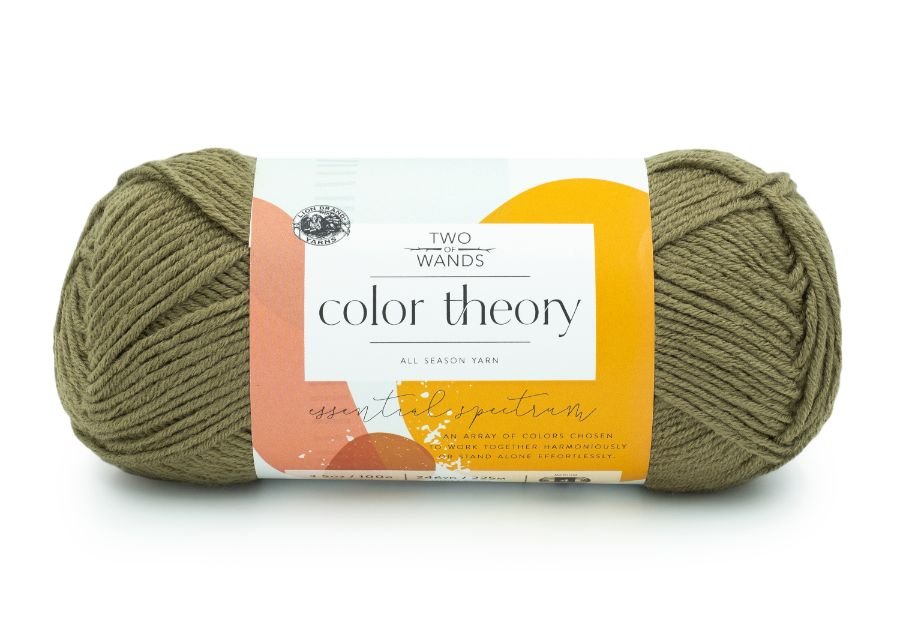
1 skein each Lion Brand Color Theory in Caper (619-173AE) for color A and Ivory (619-098AW) for color B
(worsted, weight 4; 246yds/225m per skein)
Size US 8 (5mm) double pointed needles, set of 5
Tapestry needle
GAUGE
19 sts x 26 rounds = 4”/10cm in stockinette in the round
FINISHED DIMENSIONS
To fit a pot with a 4.5”/11.5cm diameter base, 6”/15cm in height
(A) Diameter: 4.5”/11.5cm
(B) Circumference: 14.25”/36cm
(C) Height: 6”/15cm
ABBREVIATIONS
*All Two of Wands patterns are written in standard US terms.
CO – cast on
K – knit
M1l – make 1 left
M1r – make 1 right
P – purl
Rep – repeat
S2KP – slip 2, knit 1, pass slipped sts over
Sl – slip
St(s) – stitch(es)
Wyib – with yarn in back
Wyif – with yarn in front
Notes: Plant hanger is worked in the round from the bottom up, then separated into four sections worked back in forth in rows one at a time.
Pattern:
With color A, and leaving a 6”/15cm tail, CO 12 sts and divide so that there are 3 sts on each of 4 double pointed needles. Being careful not to twist sts, join in the round.
Round 1: K.
Round 2: *K 1, m1r, K 1, m1l, K 1, rep from * around. (20 sts)
Round 3: K.
Round 4: *K 1, mll, K to last st on current needle, m1r, K 1, rep from * around. (28 sts)
Rounds 5-16: Rep rounds 3 and 4, six more times. (76 sts total, 19 sts per needle)
Note: For a pot with a bottom diameter larger than 4.5”/11.5cm, continue working increase rounds until the diameter of the work matches the diameter of the pot.
Leave sts on the needles. Thread the tail from CO onto a tapestry needle, whip stitch around the center hole at CO and pull like a drawstring to close. Secure and weave in end.
Rep round 3 until work measures 4”/10cm from center point (8”/20.5cm total in diameter).
Note: For a pot with height larger than 6”/15cm, continue working rounds, adding 1”/2.5cm for each additional inch of height.
Work will now be separated into 4 sections, working back and forth in rows on each needle one at a time.
Working on 1st needle only:
Row 1 (RS): Sl 1 wyib, K 1, P 1, K to last 3 sts on current needle, P 1, K 2.
Row 2 (WS): Sl 1 wyif, P 1, K 1, P to last 3 sts on current needle, K 1, P 2.
Row 3: Sl 1 wyib, K 1, P 1, SSK, K to last 5 sts on current needle, K2tog, P 1, K 2. (17 sts)
Rows 4-11: Rep rows 2 and 3, four more times. (9 sts)
Row 12: Rep row 2.
Row 13: Sl 1 wyib, K 1, P 1, S2KP, P 1, K 2. (7 sts)
Row 14: Sl 1 wyif, (P 1, K 1) twice, P 2.
Row 15: Sl 1 wyib, K 1, S2KP, K 2. (5 sts)
Row 16: Sl 1 wyif, P to end of row.
Row 17: Sl 1 wyib, S2KP, K 1. (3 sts)
Begin i-cord:
Change to color B.
Slide the sts to the other end of the needle, and without turning, K across the row. The working yarn will be pulled up the back of the work since it is now at the bottom of the sts.
Slide the sts to the other end of the needle, and again without turning, K across the row. By doing this you are forming a tube called an i-cord. Continue on in this manner until the i-cord measures 24”/61cm or desired length.
Cut the yarn, leaving a 6”/15cm tail. Thread the tail onto a tapestry needle, draw it through the 3 sts and pull like a drawstring to close. Secure and weave in the end.
Rejoin yarn at the beginning of the next needle and rep all steps from row 1. Rep for each needle.
Secure and weave in any remaining ends.
Gather all i-cords and tie together at the ends with an overhand knot.
Purchase the printable, ad-free pattern here.
Purchase the kit from Lion Brand here.
Don't forget to share your projects made using Two of Wands patterns on Instagram with the hashtag #crewofwands to get featured on my page and be in the running for monthly pattern giveaways!
Join the Crew of Wands Facebook group to connect with other makers of Two of Wands patterns for help with techniques and pattern related questions.
The patterns and photographs of items on this site are the property of Two of Wands and are for personal, non-commercial use only. These patterns files are protected by US copyright, and you may not distribute or sell them electronically or physically. Small batch sales of finished pieces made from these patterns are permitted, but seller must use their own photographs and credit must be given to Two of Wands as the designer.


